Featured Post

DIY St. Patrick’s Day Shamrocks

Quick and easy to make, this St. Patrick’s Day Shamrock is a great way to decorate any space so that you’re ready for the festivities! St. Patrick’s Day is just around the corner and we have a quick and easy craft to get you in the Shamrockin’ spirit! These Shamrocks can be used as decorations for a St. Patrick’s Day themed party or just to brighten up any room. You can hang them using ribbon, attach them directly to any surface using some adhesive, make a key chain and much more! We are showing you how to make one size, but you can change the measurements below to make larger or smaller Shamrocks. What You'll Need: Stiff Felt Sheets - 12” x 12” Ruler Rotary cutter or fabric scissors Hot glue gun and sticks Ribbon (optional) Instructions: 1. With your Stiff Felt Sheets , rotary blade and ruler , cut 4 strips measuring 1 inch wide by 12 inches long and 4 strips measuring 1 inch wide by 10 inches long. You should have a total of 8 strips. T
Craft Therapy: DIY Pot Of Gold Treat Bag

Hey everyone!

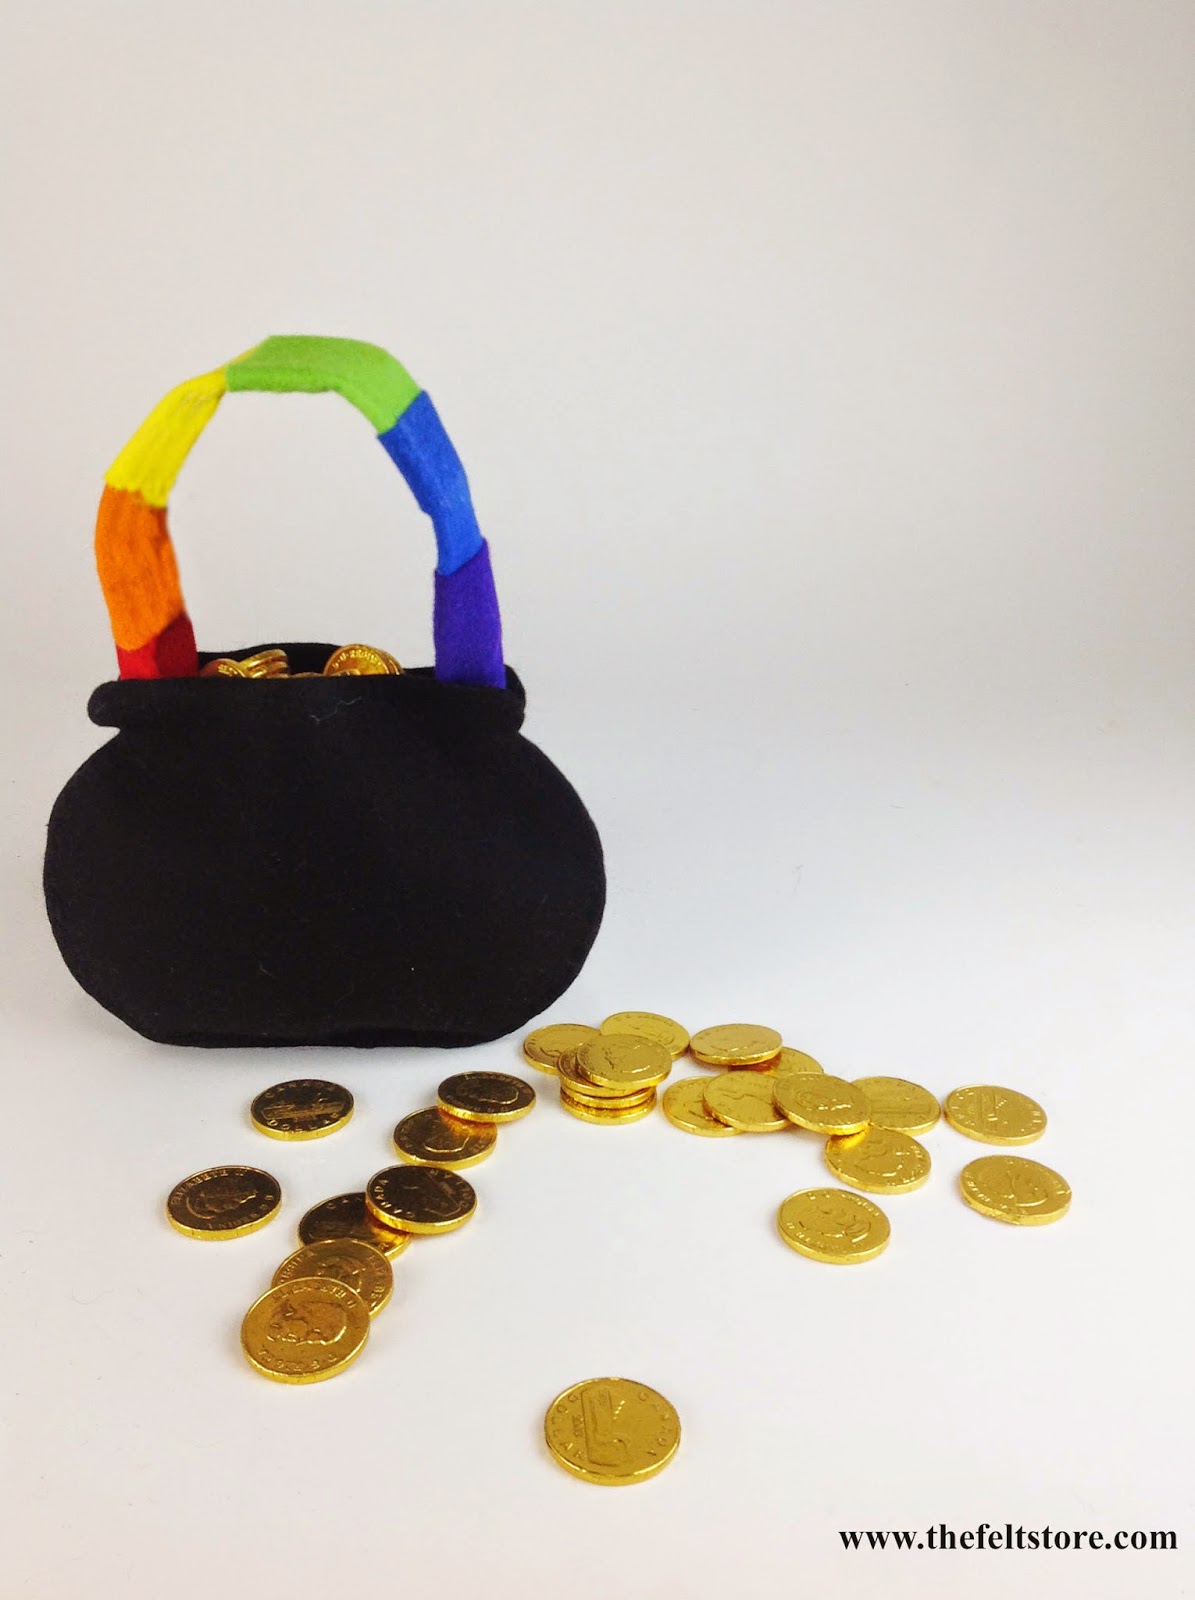
This week's craft therapy is all about the Irish Luck! The adults can't have all the fun on St Paddy's Day. Make this adorable Pot of Gold Treat Bag. Below is full tutorial.


Materials

12" x 12" 2mm Designer Felt
Viscose Sample Bag
Chocolate Coins
Glue Gun


Tutorial 

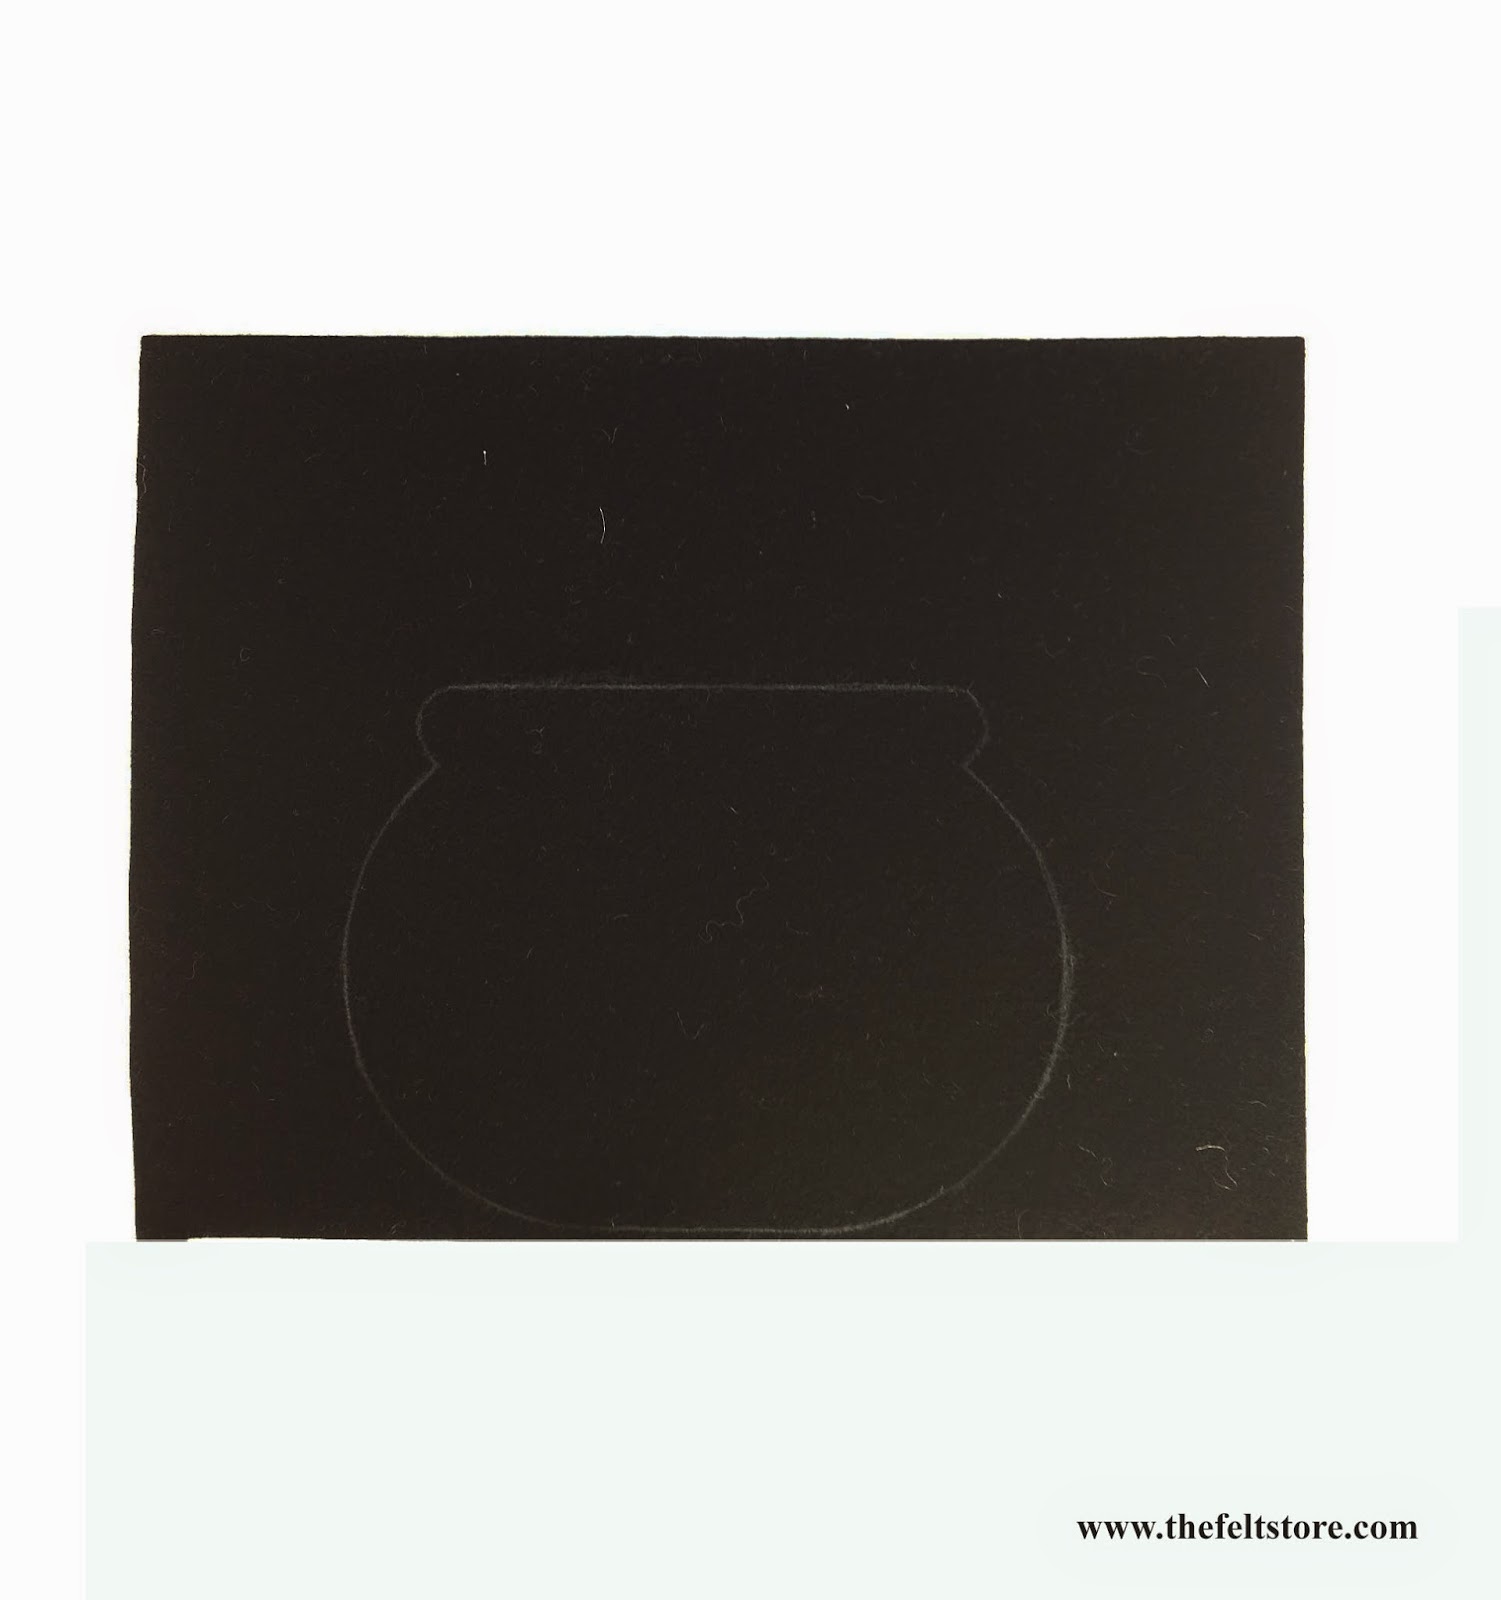
1) Trace out a 2 pot onto the Black 2mm felt square. Like you see below. Once you are done cutting the pot of gold, you can either sew the two together or you can glue the edge. This will create the bag.


2) Cut out a strip of black felt. This will be the handle of the treat bag.


3) Take out the Red, Orange, Yellow, Green, Blue, and Purple from the Viscose Sample bag And start to wrap the squares around the strip from both sides. So that there is no black showing at all. Using the glue gun to keep it together. I separated each color 2 inches apart.


4) Once you are done gluing the rainbow colours onto the strip. Take each end of the strip and bring the two ends together by gluing them together.

5) Take the ends and glue to each side of the pot. You'll be left with treat bag like below! Add some chocolate coins and voila you got yourself pot of gold treat bag!


Comments

Popular Posts